
When users upload images to a web app, raw uploads can easily be several megabytes each. Multiply that by hundreds of uploads and you’ve got a storage and bandwidth problem. Pages load slower, backups get bigger, and hosting costs climb. The straightforward way to fix it is by compressing images before they hit storage, not after.
This post walks through how I added compression to the upload flow for my Laravel Project, why I picked the package I did, and what the actual size difference looked like.
The Problem
Before adding compression, a typical uploaded photo from a phone camera came in at a range of 2-8 MB. Multiplied across a product catalog / gallery / whatever your app stores, that adds up fast to both in disk usage and in how long the image takes to load on the frontend.
Picking a Package: Intervention Image vs Spatie
There are 2 common options in the Laravel ecosystem:
- Intervention Image: a general-purpose image manipulation library (resize, crop, compress, format conversion). Good when you need more than just compression, e.g. thumbnails, watermarks, format conversion.
- Spatie’s Image: more opinionated, integrates well if you’re already using Spatie’s media library for file handling, but adds a heavier dependency if you’re not.
In this case, I went with Spatie because i was already using another Spatie package in the project and wanted to stay consistent
How to implement Spatie to your project:
1. Initial Setup
composer require spatie/image
composer require spatie/laravel-image-optimizer
spatie/laravel-image-optimizer shells out to system binaries, so they need to be installed on the server too:
sudo apt install jpegoptim optipng pngquant gifsicle
npm install -g svgo
2. PHP file
Here’s the core of the upload handler:
use Spatie\Image\Image;
use Spatie\ImageOptimizer\OptimizerChainFactory;

public function store(Request $request)
{
    $request->validate([
        'image' => 'required|image|max:10240', // 10MB raw upload limit
    ]);

    $file = $request->file('image');
    $filename = uniqid() . '.' . $file->getClientOriginalExtension();
    $path = storage_path('app/public/uploads/' . $filename);

    // 1. Resize with Spatie Image
    Image::load($file->getRealPath())
        ->width(1600)
        ->quality(75)
        ->save($path);

    // 2. Run the resized file through the optimizer binaries
    OptimizerChainFactory::create()->optimize($path);

    return response()->json(['path' => 'uploads/' . $filename]);
}
Key decisions here:
- Resize cap at 1600px wide: most display contexts don’t need anything larger; this alone often cuts file size more than compression quality does.
- Quality 75: set at the resize step; a common sweet spot for JPEG, visually near-identical to 90+ but meaningfully smaller.
- Optimizer pass after resizing:
spatie/imagehandles the resize/quality change, thenlaravel-image-optimizerruns the already-resized file through format-specific tools (pngquant for PNGs, jpegoptim for JPEGs, etc.) for a further size cut without visible quality loss. Doing it in this order avoids wasting optimizer time on a full-size original.
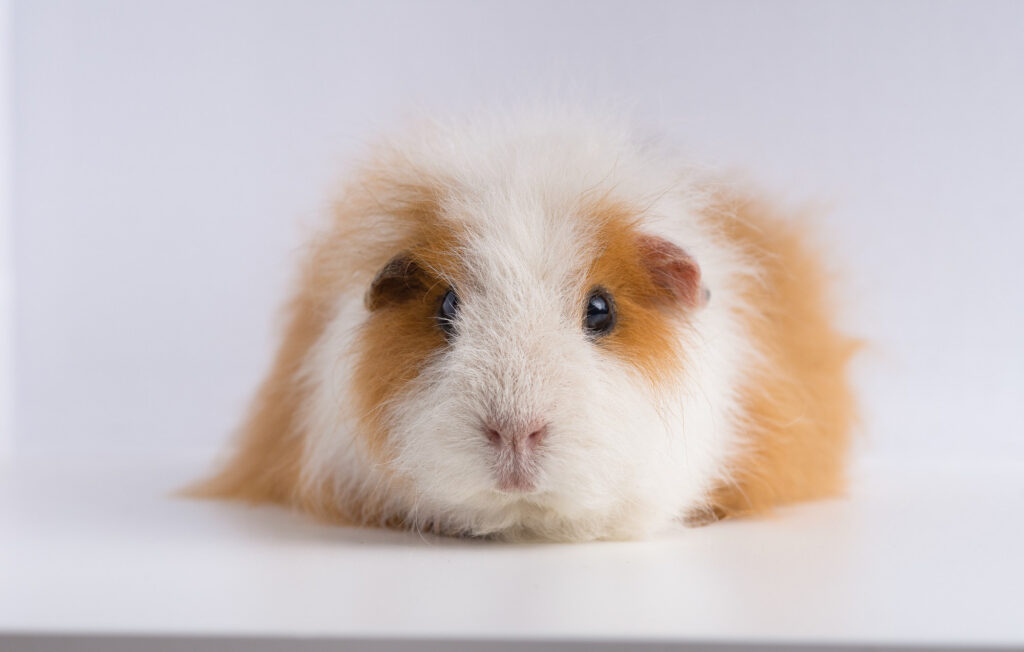
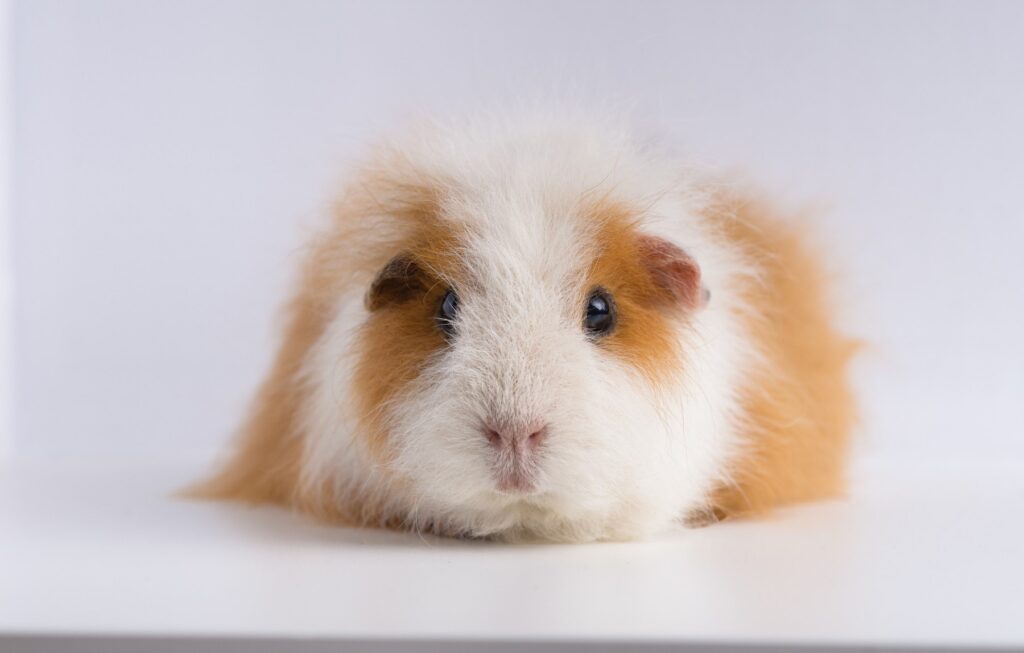
Here’s the comparison of original (868KB) vs compressed (179KB) image size:
Trade-offs
Compression is not free:
- CPU cost on upload: resize + optimizer binaries both run synchronously in the request in the code above. The optimizer step in particular shells out to external processes, which is slower than a pure in-memory library call.
- Server dependency: unlike Intervention Image (pure PHP),
laravel-image-optimizerdepends on system binaries being installed and on PATH. That’s an extra deployment step (and an extra thing that can silently fail in a Docker image or shared host that’s missing them). - Format limits: this approach assumes JPEG/PNG; if you accept HEIC (common from iPhones), you may need an extra conversion step before Spatie’s Image can process it.
Takeaway
Compress on upload, not on serve: you only pay the CPU cost once instead of on every request. Cap dimensions before you touch quality settings; resizing usually buys you more size reduction than lowering JPEG quality does.