
If you’ve been building and testing in Odoo on your local and now it’s time to push that work to your production server, you don’t need anything fancy, Odoo has a built-in way to do this through the Database Manager. No command line, no scripts, just export and import.
In this post, I’ll walk through exactly how I move data from my local Odoo environment to production using backup and restore.
Step 1: Finish Your Work Locally
Before exporting anything, make sure your local environment is in the state you actually want to push live also with all your configuration, records, and test data should be exactly how you want production to look.
Tips: If your local database still has test/demo data you don’t want in production, clean it up first. Once it’s in the backup, it’s going live too.
Step 2: Open the Database Manager
On your local Odoo instance, go to:
http://localhost:8069/web/database/managerThis page lists all databases running on your local Odoo instance, along with options to Backup, Restore, Duplicate, or Delete each one.
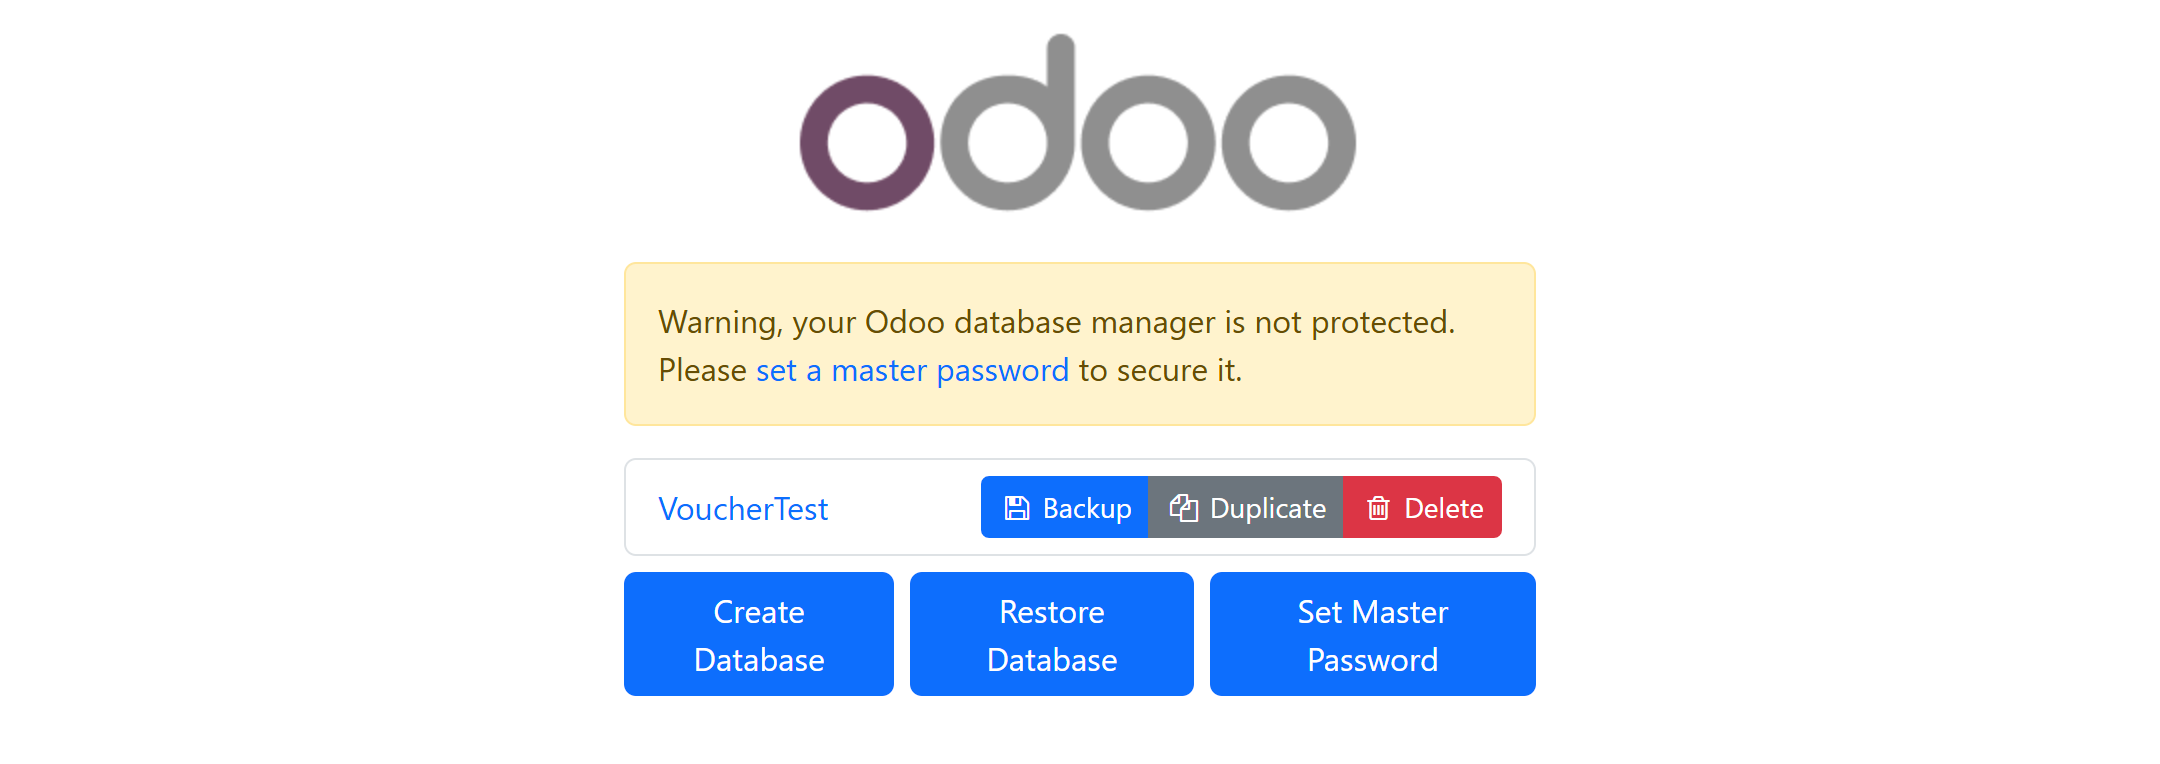
Step 3: Back Up Your Local Database
- Find your database in the list.
- Click Backup.
- Enter your master password (set in
odoo.confasadmin_passwdor it will be generated in the first open). - Choose the backup format usually zip (includes filestore) rather than just the SQL dump.
- Click Backup and save the downloaded
.zipfile somewhere you can find it.

Step 4: Open the Database Manager on Production
Now switch over to your production server’s database manager:
https://yourdomain.com/web/database/managerStep 5: Restore the Backup on Production
- Click Restore Database.
- Upload the
.zipfile you downloaded from local. - Enter a new database name for production (or reuse an existing name if you’re intentionally overwriting).
- Enter the master password for the production instance.
- Click Restore.
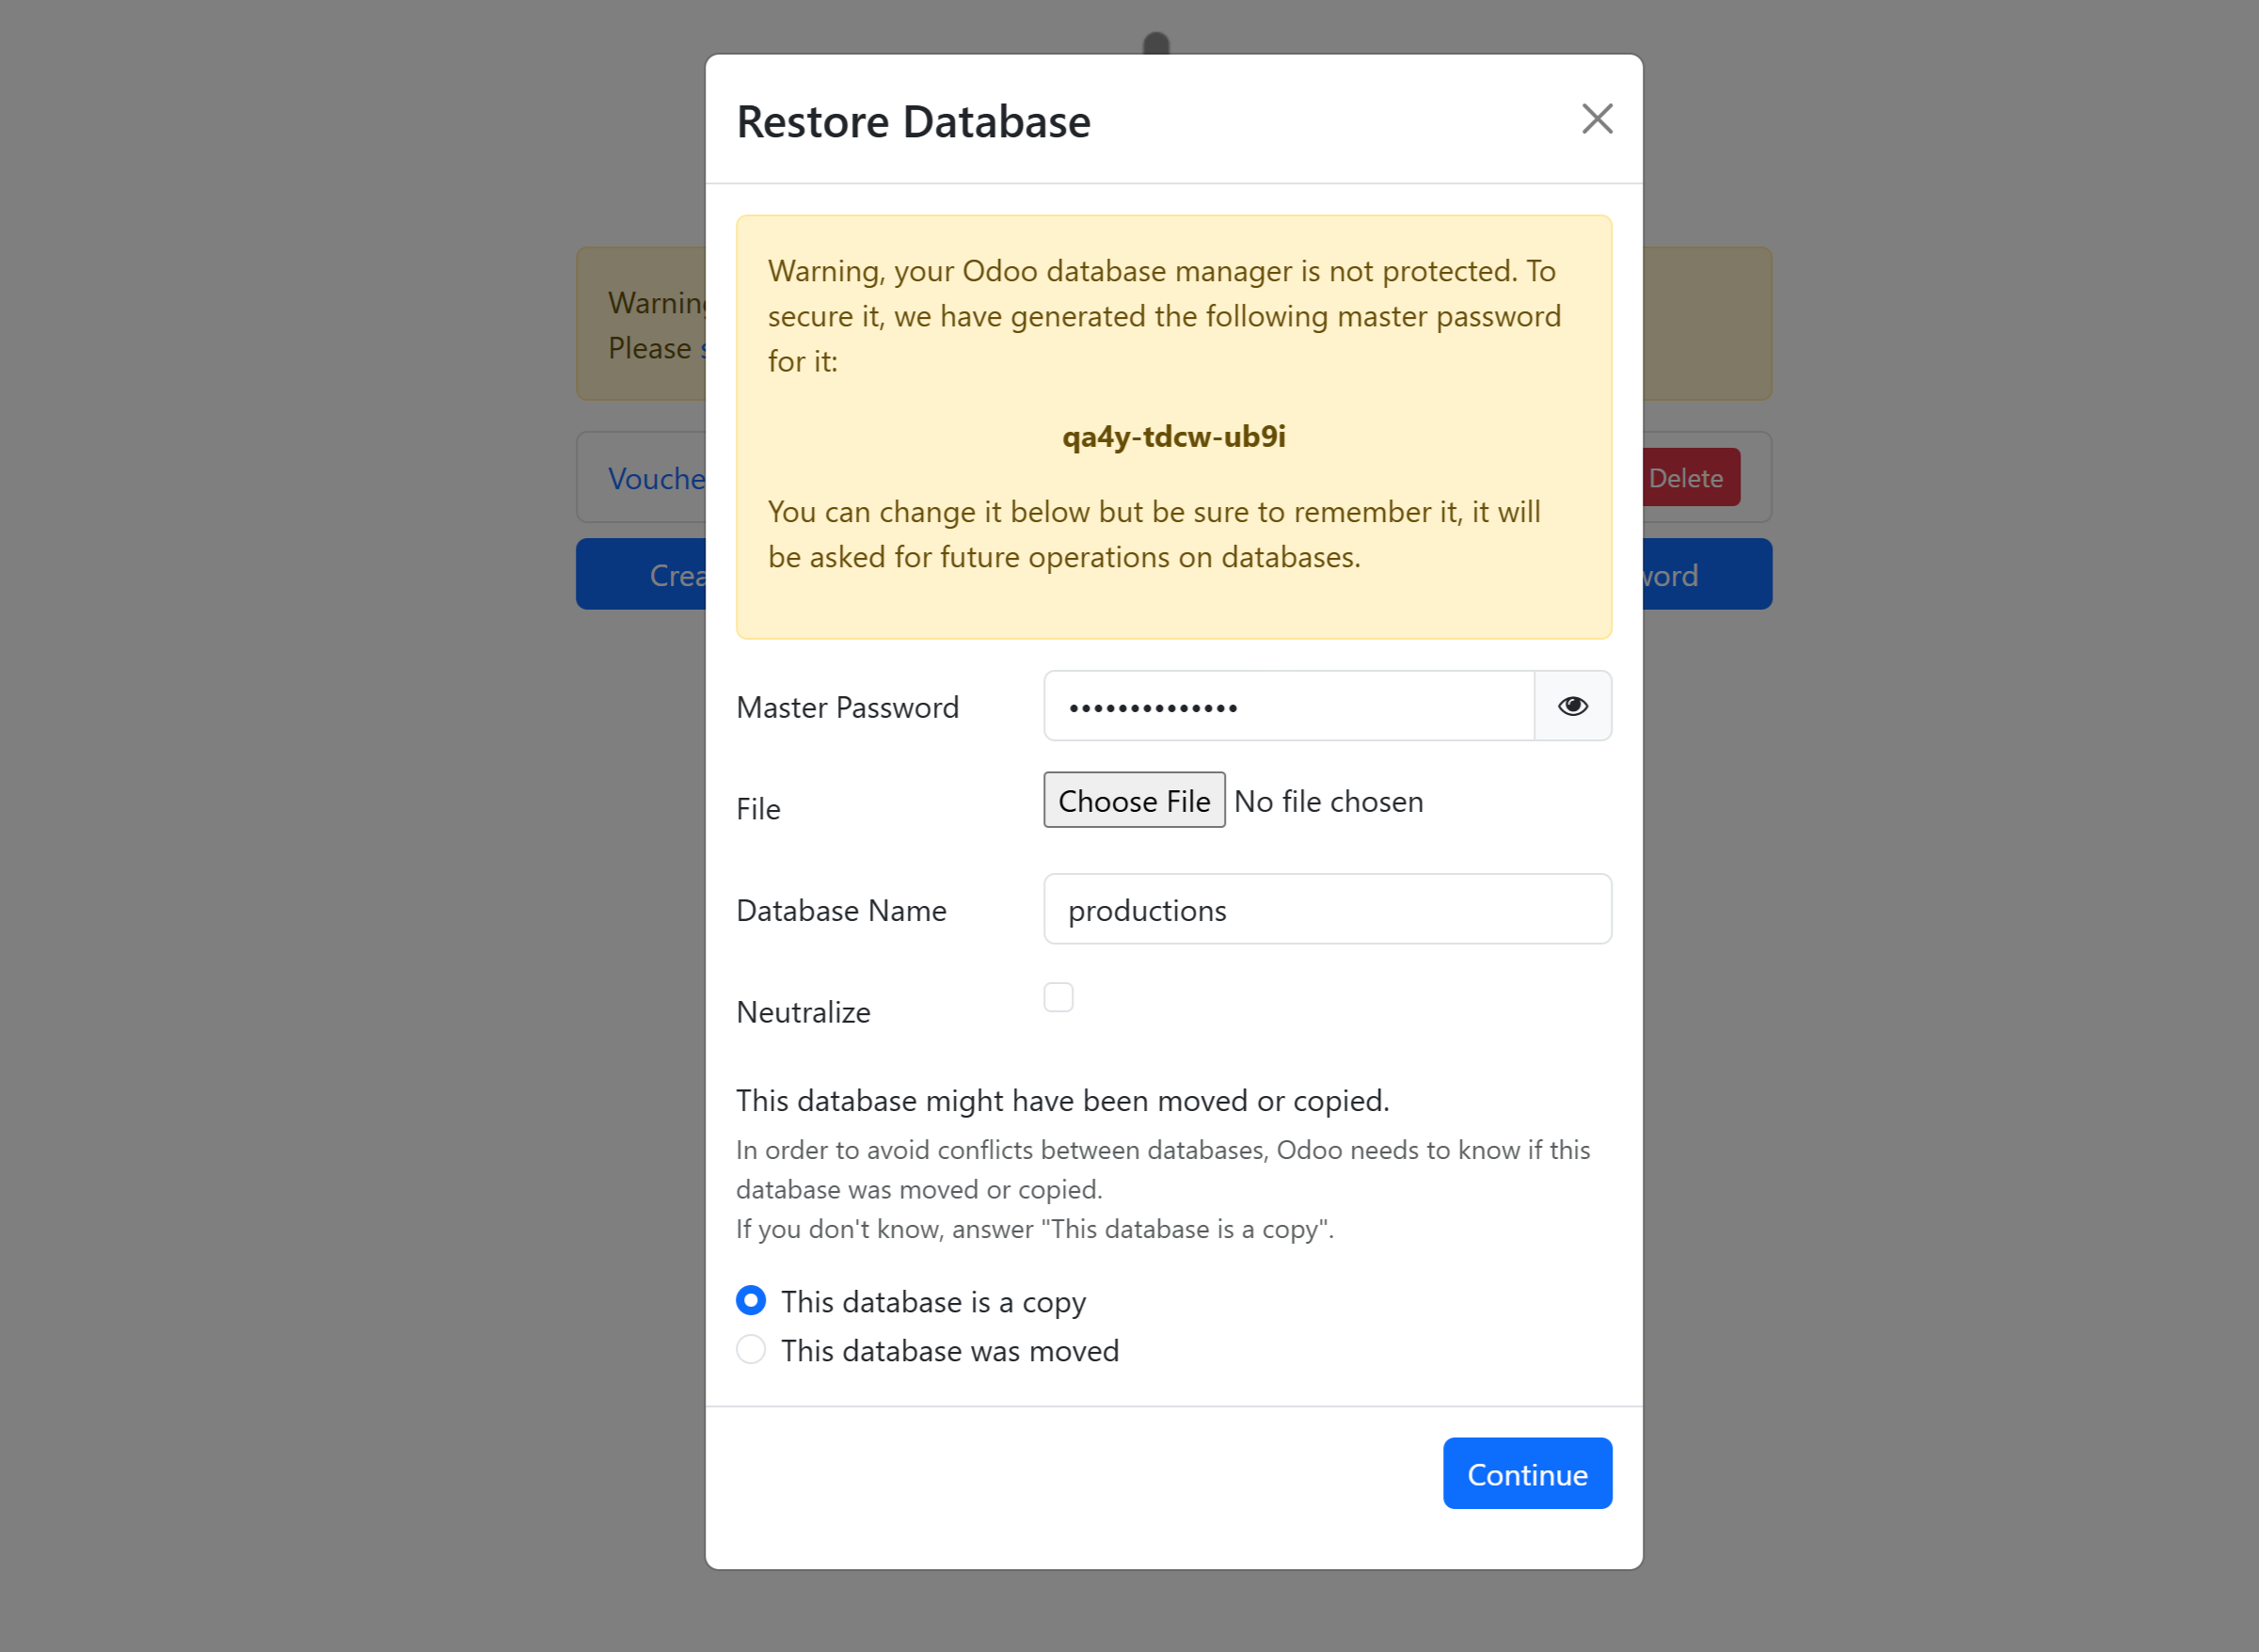
Odoo will unpack the zip, recreate the database, and restore the filestore. Depending on your data size, this can take anywhere from a few seconds to several minutes.
Step 6: Verify Production
Once the restore finishes:
- Log into the new/updated production database.
- Spot-check a few records, especially anything with attachments (images, PDFs) to confirm the filestore came through correctly.
- Check installed modules and settings match what you expect.
A Few Things Worth Knowing
- The database manager must be enabled. If you don’t see
/web/database/manager, check thatlist_db = Truein yourodoo.conf, some production setups disable this page for security, since anyone who reaches it can see your database list. - Master password ≠ login password. This is the
admin_passwdset inodoo.conf, not any user’s Odoo login. - Restoring can overwrite an existing database. If you restore into a name that already exists, double-check you actually want to replace it, there’s no undo.
- Large filestores mean large zips. If your local database has a lot of attachments, the backup/restore process will take longer and the zip file can get big. Keep an eye on upload size limits, especially if your production server sits behind a reverse proxy (nginx
client_max_body_size, for example) that might reject a large upload. - This method fully overwrites, not merges. This is best for pushing a full snapshot from local to production (like an initial go-live or a full refresh), not for syncing partial changes. If you only need to move a few records, that’s a different workflow (manual export/import of specific data).